If you’re old enough to have watched all those great Rankin/Bass stop motion holiday specials when you were a kid — or young enough that your parents force you to watch them because “that’s what Christmas was like when I was your age!” — then you might enjoy our holiday card for this year. It’s an illustration of some of the worst creeps and goons Rankin/Bass ever animated.
Creeps like Professor Hinkle, for example. The failed magician who ended up stalking a small child through a frozen wasteland only to lock her in a greenhouse while her magical snowman friend melted into lukewarm water. Nice guy, right? And a wonderful thing for children to watch. It really helped prepare us for the real world. Never trust a magician.
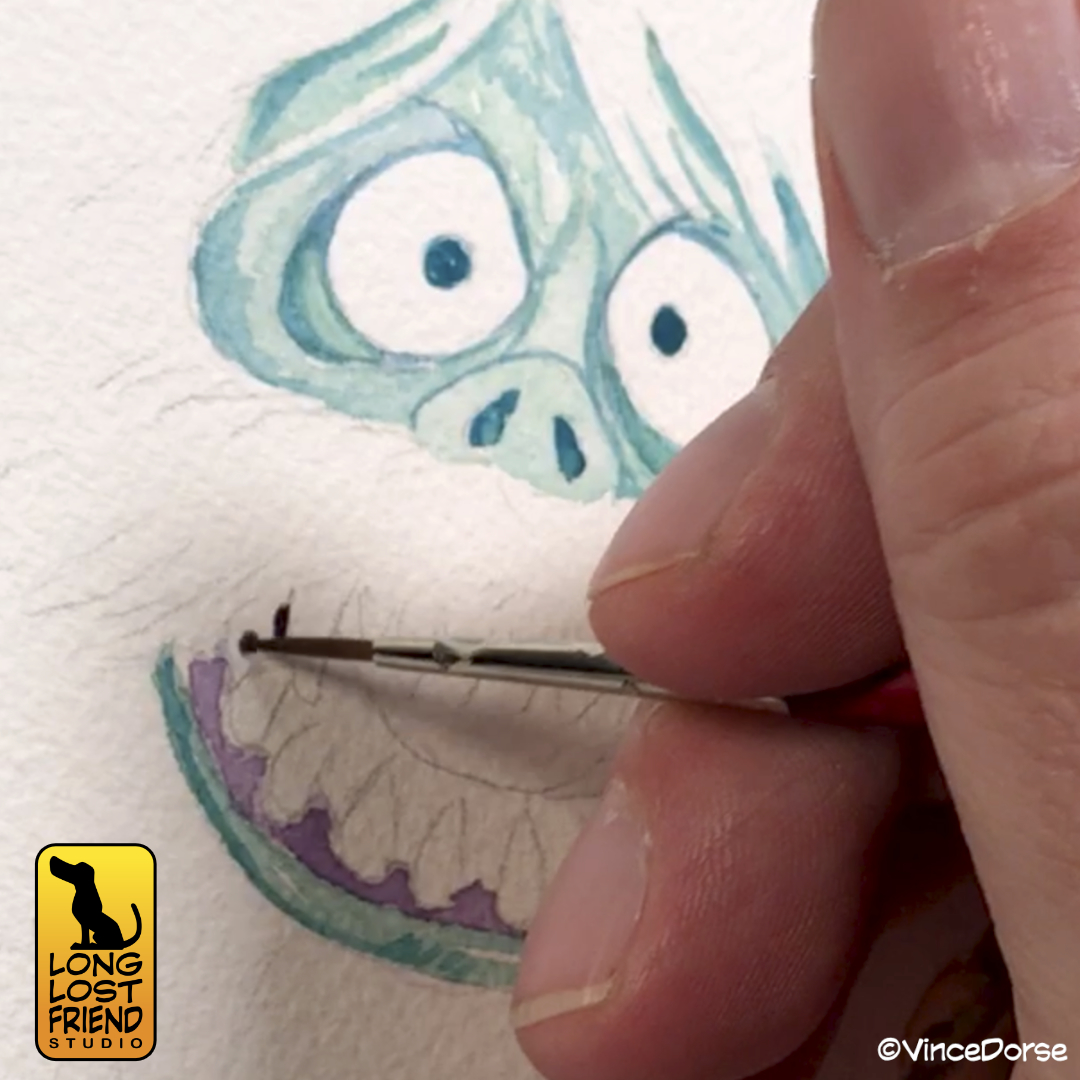
And, of course, you have the Miser Brothers, Snow and Heat. These two petulant monsters argued constantly to get their way and threw tantrums when they didn’t. A great example of now NOT to solve conflicts. These Rankin/Bass specials really were valuable on so many levels.
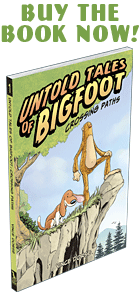
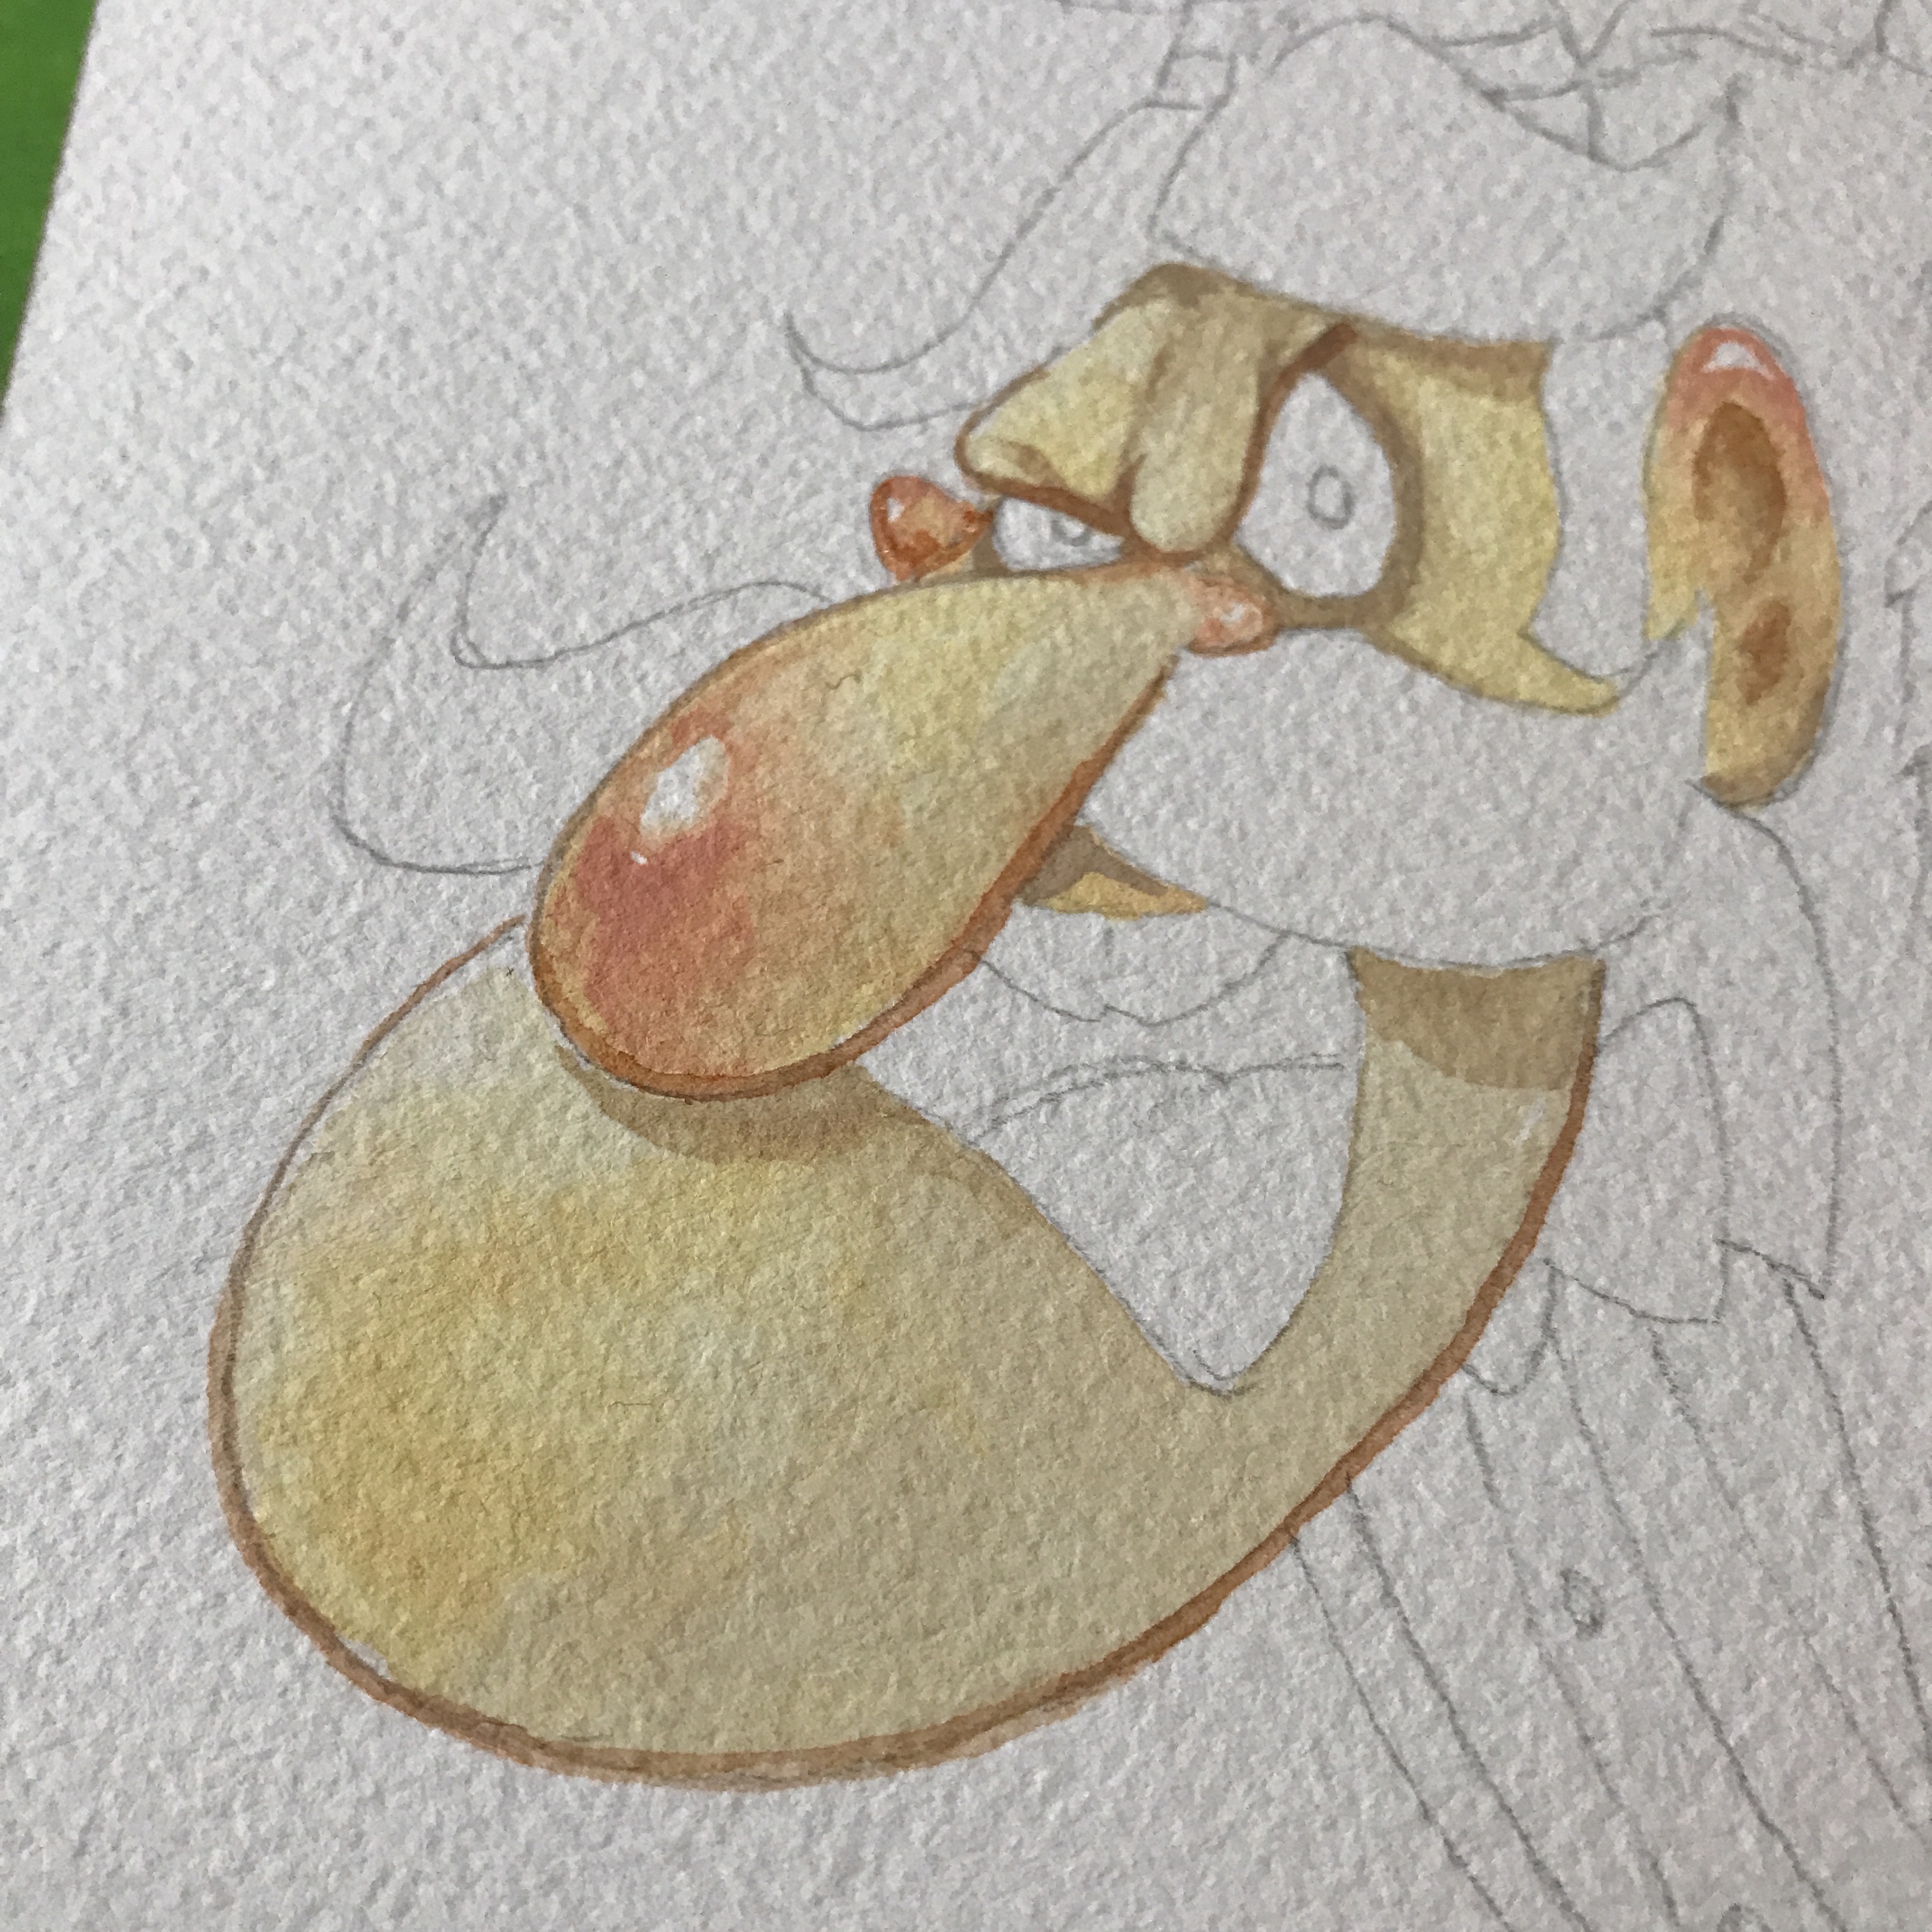
And that’s why we decided to honor those fantastic holiday specials with a collage of their villains. We did it in watercolor — no colored pencils or inks for linework or details — and tried to capture that holiday magic that Rankin/Bass imbued all of their stop motion specials with. Well…maybe not Little Drummer Boy. That one always put me to sleep.
If you’d like to see us put this holiday illustration together, you can watch the video below. And since it’s just a couple weeks until the end of the year — Happy Holidays! We hope you have a wonderful holiday and best wishes for 2024!
Most of you have either seen Jim Henson’s Emmet Otter’s Jugband Christmas or read the original children’s book by Russel and Lillian Hoban. It’s a Christmas classic about a mother and son trying to celebrate Christmas, and make ends meet on the banks of the Frogtown Hollow River. But for our holiday video this year, Michelle and I rowed down a different branch of that river.
This year, we’re breathing life into the long lost, controversial, alternate ending to Emmet Otter’s Jugband Christmas. What? You’ve never heard of this so-called alternate ending? Well, neither had I until I found some old papers hiding in a dusty box I got at an estate sale years ago.
Is it legit? Who knows? Maybe it’s just some stuff I typed up and dunked in coffee so it would look vintage. But Michelle and I ran with it regardless. And we used illustrations, needle felted sculptures, and dioramas to bring this alternate ending off the page and capture it on video.
I created the illustrations digitally because deadlines are tight, and digital mistakes are easier and quicker to fix. But I had the easy part. Michelle had to needle felt not one, not two, but three characters from the story. We each put our own spin on the characters, and I’m pretty happy with both the 2D and 3D versions.
This diorama was a challenge too. Another time-consuming cog in this chaotic machine. But to tell a story this epic, we had to go big. And that means going small, and filling this miniature set with miniature props.
So, whether or not this alternate ending is real…it’s the ending we need. And it rights the injustice that occurred at the Frogtown Hollow Talent Competition all those years ago when the Mayor let those goons from Riverbottom into the contest at the last minute. And it reminds us all of maybe the most important lesson you can learn at the holidays: Hit them before they hit you.
Have a wonderful holiday season, stay safe, and have fun. Here’s the video:
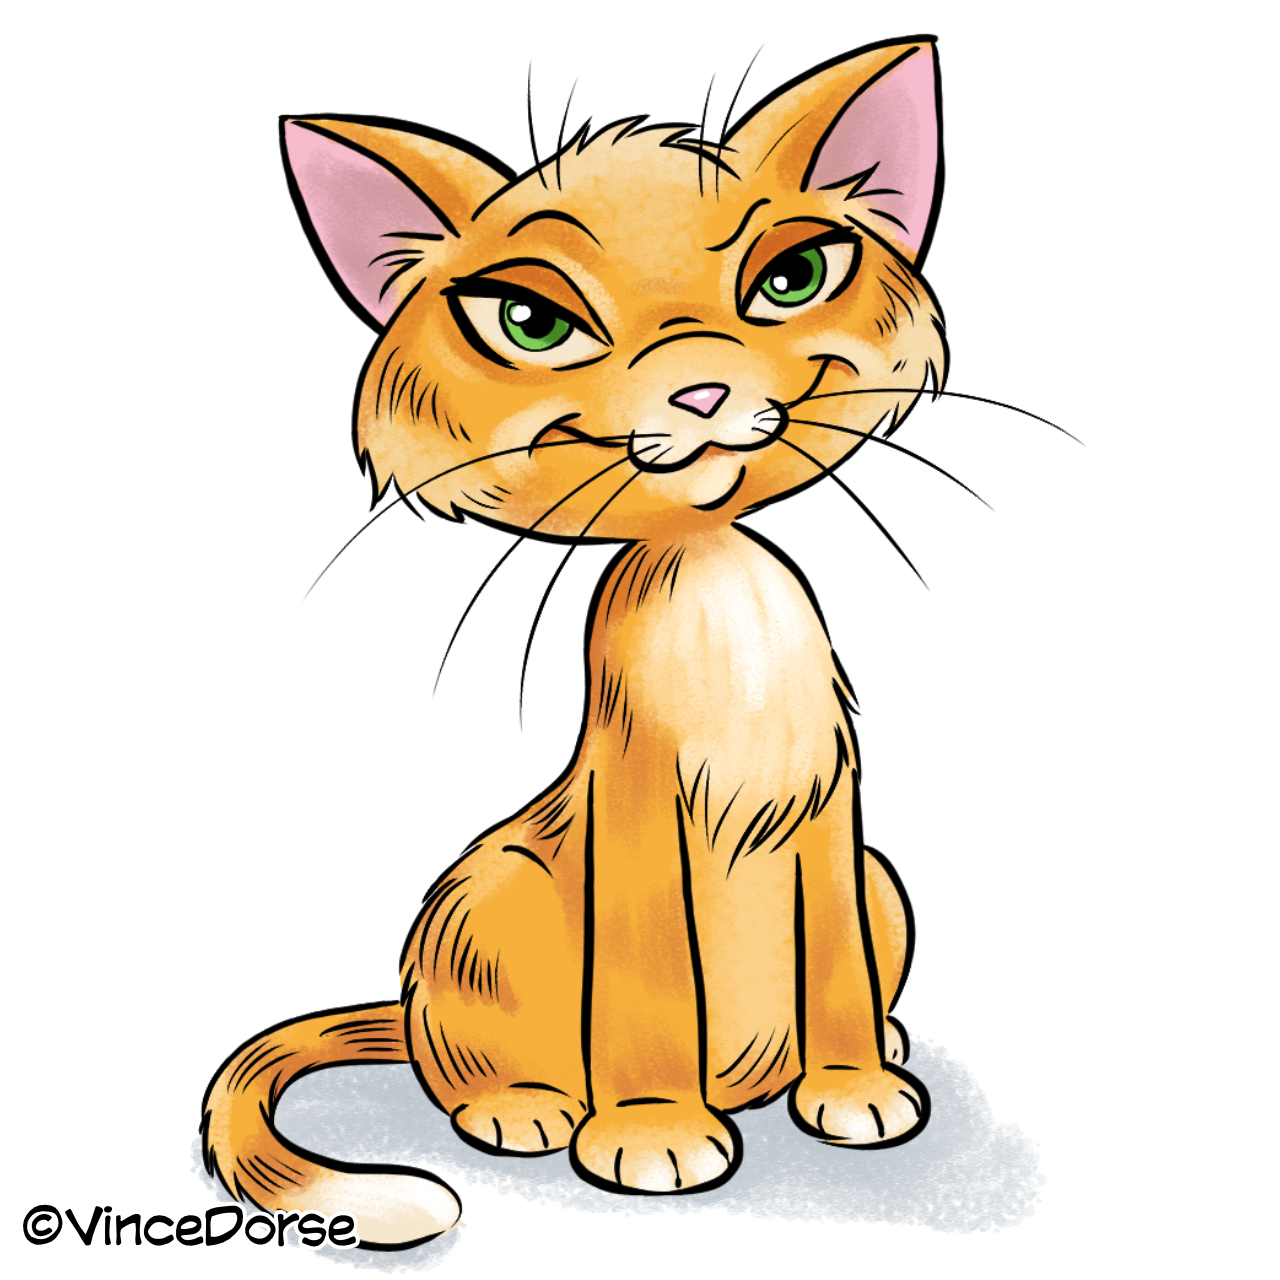
We move from 3D witch sculpting to 2D cartoon drawing this week. A simple How-To-Draw tutorial that’ll take you through the steps of drawing this cute little cartoon cat.
This is more or less a recreation of a short presentation I did with some girl scouts over a zoom conference troop meeting. I had to do a “how to draw” segment, and this cartoon cat was what I decided to use. I worked digitally (in Clip Studio Paint) but the exercise could be done with pencil on paper as well.
I tried to keep it pretty basic — simple shapes, not too detailed — and if you follow along, yeah, in the end, there should be a cat on the page (or monitor) in front of you. But from that starting point, you can experiment, change, alter, or even forget everything in this lesson, and create a cat that’s personal to you.
It’s a pretty short video, and easy to follow. Hope you have fun! -v
Most of the time, when I’m working on art, I’m either sitting behind my computer working on something digital, or sitting on the couch, sketching with a pencil. Bottom line, there’s a lot of sitting going on, and that’s not gonna change anytime soon.
But what WILL change is the medium I’m working in. I found an old mini-canvas in the ArtBin I used during my college painting class eons ago. It was still sealed in plastic because I’ve never done a mini-painting. Until now.
This week, I finally broke open some old acrylics (and that mini-canvas) and decided to try my hand at a mini-portrait of one of my favorite Muppets, Count Von Count. You can watch the video down below to see how it went, and listen to me talk to RunRedRun about Sesame Street, vampires, and my college painting course.
Anyway, here’s the video. One! One painting video! Ah Ah Ah Ahhhhh!
And we’re back from break! I sent out New Year’s cards this year. Not many. Just enough to make sure all the people who sent me Christmas cards didn’t think I was a complete jerk.
But while I was making the card, I also took the opportunity to record my process and talk about it with my friend, RunRedRun. I might not be a complete jerk, but I’m also not gonna pass up the opportunity to generate some fresh content for my YouTube channel.
So we uploaded a video where I discussed not only my illustration process for this cute little hamster, but also name-dropped the many various tools and materials I used to create the card — from the sketch stage right on up to me dropping it in the mailbox.
I’m no mazologist (is that a word?), but I was asked to create a puzzle page for the National Cartoonists Society Activity Book. If I had to do it on paper, I might still be working on it. But Clip Studio Paint made it easy and quick. Oh, and I’ve added a link at the bottom letting you know where to download your own copy of the activity book!
Inking
This maze is packed with illustrations of my Untold Tales of Bigfoot characters. And since I know how to draw those guys, that’s where I started. I sketched in their shapes roughly in digital pencil, then used the Layer Color function to turn that sketch a light blue.
Then, on another layer, I inked with a brush tool. Doing it this way is low pressure since I can fix errors on the fly and get the work done much faster than I’d be able to with ink on paper.
Halftone Greys
Since this activity book will be a black-and-white publication and not color, I use Clip Studio Paint’s halftone dot patterns to add screen tones. The first step is to create a selection of where you want your dot pattern.
Then, from the pop-up menu, select the second-to-last option, New Tone. This brings up another pop-up that gives you options on the density and type of dot pattern you’d like to drop into the selection.
Once you pick one, click OK and the pattern appears on another layer, in a MASK that you can add to or subtract from— giving you the option to paint in (or remove) the dot pattern with ease.
Curve Rulers
Again, I’m not a maze-maker. So it took me a few (dozen) tries to digitally pencil out a path for Scout to take through the woods in his quest for Bigfoot. Doing it digitally made it easier to start over when I screwed up. But once the paths of the maze were set, I clicked the Layer Color option so I could turn the pencils blue and ink over them on another layer.
The lines of the maze aren’t ramrod straight or particularly smooth curves, but I used the Curve Rulers anyway because, besides helping you follow a designated path, they also help you keep a consistent line weight.
Drawing these lines freehand would’ve resulted — for me, at least — in inconsistent, bumpy lines that wouldn’t look very good. The Curve Ruler helped make the lines smooth and evenly weighted, but with a natural, hand-done feel.
Text Tool
For very simple typesetting like adding a title to this page, the Text Tool in Clip Studio Paint is a breeze. Just grab the text tool, plant the cursor where you want your text, and type it out. You can resize with the point size dropdown, or just grab a corner of the bounding box and stretch it to fit.
Eventually I used the font dropdown to change the font into something I thought fit better.
Finally, I used the Rounded Balloon tool in conjunction with the Text Tool to give Bigfoot and Scout something to say.
So that’s about it. Nothing too difficult. Just some very simple tools in Clip Studio Paint that make a relatively basic job a little easier and a bit quicker.
Now, the NCS Activity Book is packed with all kinds of puzzle pages from some of the most well-known cartoonists in the world: Sergio Aragones (MAD Magazine), Mo Willems (Don’t Let The Pigeon Drive The Bus), Jeff Keane (Family Circus), Jerry Scott and Jim Borgman (Zits), and many more. The pdf download is a pay-what-you-can deal of a lifetime and the proceeds go toward the NCS Foundation. You can find out more about that in this video as well as watch me put this Untold Tales of Bigfoot Maze together in Clip Studio Paint.
I have a friend who is a grade school teacher and is always looking for creative activities for the kids in her after-school program. So every once in a while I make her a paper doll the kids can color, cut-out, and assemble. Since I did this near Halloween, I decided on a kid-friendly werewolf. And to make it, I used Clip Studio Paint.
Since this craft was intended for kids that could range from Kindergarten through Eighth Grade, I didn’t want to make the monster too scary for the little ones. I started the project by sketching out my friendly werewolf in Clip Studio Paint using a Layout Blue Pencil.
RULERS
Yes, I could freehand this sketch, but I used some of Clip Studio’s ruler tools to help me work more efficiently. I placed a Symmetry Ruler down the center of the page to quickly outline the monster using the standard G-Pen. Inking the left side automatically inks the right side. So you can draw things twice as fast.
In addition to the Symmetry Ruler, I used the Curve Ruler to trace the outline of the individual body parts. I use the Curve Ruler as a guide so my ink line is smooth and uniform, and doesn’t take long to draw. You just zip around that ruler like a car around a race track, and the brush settings takes care of the line weight.
The bonus benefit of using the Symmetry Ruler along with the Curve Ruler is that I only have to draw one of everything, and it’s duplicated (in reverse) on the opposite side of the page. Again, I’m getting a lot of this job done in half the time.
For the detail work, I turn off the rulers and just ink freehand. I prefer asymmetry for the details because it helps the illustration look more natural and hand-done.
Once all the details (and joint markings) are drawn in, the only thing left to do is print the illustration out and deliver it to my teacher friend for her to distribute to the kids.
And here are some of the paper dolls in progress during the after-school program.
I’ve been posting some process videos on YouTube, so if you’d like to see me work on this project at super-fast speed, here’s the video:
I recently watched the Caroll Spinney documentary, I Am Big Bird. It’s so fantastic, I was inspired to doodle this illustration in Clip Studio Paint (colored in Affinity Photo).
Rough Sketch
I started out sketching in Clip Studio with a pencil tool. It’s a really rough sketch, but I like to start out loose and tighten it up in the penciling stage.
Pencils
I create a new layer, lower the opacity of that rough sketch, and draw a more polished version using the rough as a guide.
Speaking of sketching and drawing, did you know Caroll Spinney began his artistic journey as a cartoonist and animator? One of the best things about that documentary is listening to Spinney recount the early days of his career.
Inks
Digital inks in Clip Studio. I used a brush that I picked up online from a third party vendor, but Clip Studio comes loaded with a nice selection of brushes. The G-Pen, for instance, is a reliable inking tool.
About the early days of Spinney’s career — did you know it was at a puppetry festival in Utah in 1969 that Jim Henson offered Spinney a chance to work with him and the Muppets? Spinney said yes, of course, and performed the character of Big Bird (among other characters) for roughly fifty years.
Affinity Photo
Looking for alternatives to Photoshop, I discovered Affinity Photo not too long ago. I’m stiill a novice with Affinity Photo, so I forced myself to color this illustration in Affinity just to get the practice. Practice might not make perfect, but it’ll sure help if I ever decide to ditch Photoshop.
Affinity Photo has very similar tools to Photoshop (the shadows on Big Bird were done with one of the bristle brushes that comes standard with AP) and a similar interface. It’s also one of the few digital art apps that offers a true CMYK workspace like Photoshop.
Final
This is the finished piece. It was a fun diversion, and I got some much-needed practice in both Clip Studio Paint and Affinity Photo. If you haven’t seen it already, I hope you check out that Caroll Spinney documentary. It’s a must for any fans of Sesame Street and the Muppets. Even if you just like watching creative people talk about their craft, do yourself a favor and watch I Am Big Bird. It may inspire you too. -v
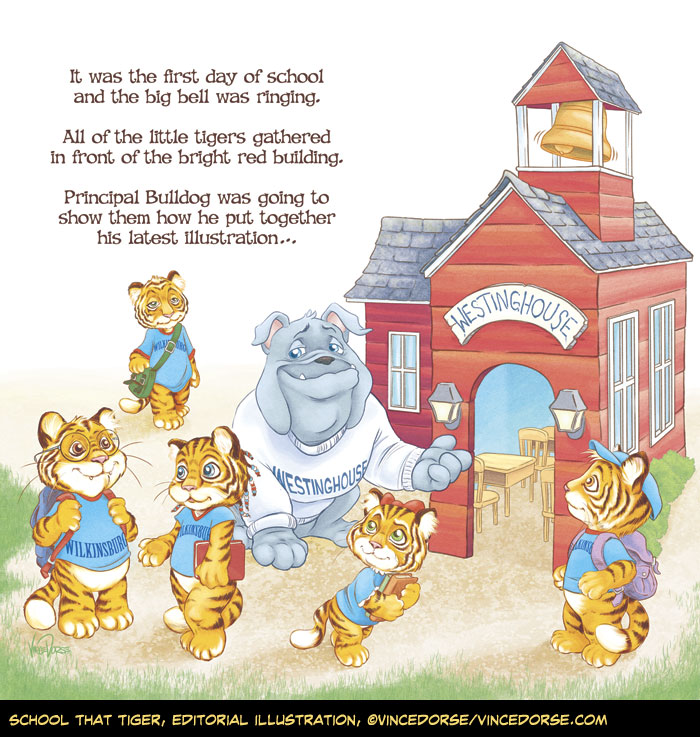
I got an editorial assignment this week, and the subject of the piece lent itself to a storybook approach. So, instead of my editorial style, I decided to use my softer, “kid lit” style. Here’s a quick step-by-step showing how I put it together.
Long story short, they’re closing down Wilkinsburg High (mascot:tiger) and now those kids’ll be taking classes at Westinghouse High (mascot:bulldog). The art direction was to draw a bunch of super-cute baby tigers attending school at a bulldog’s doghouse. A perfect opportunity to use a kids’ art style, right? So, first things first, the pencils…
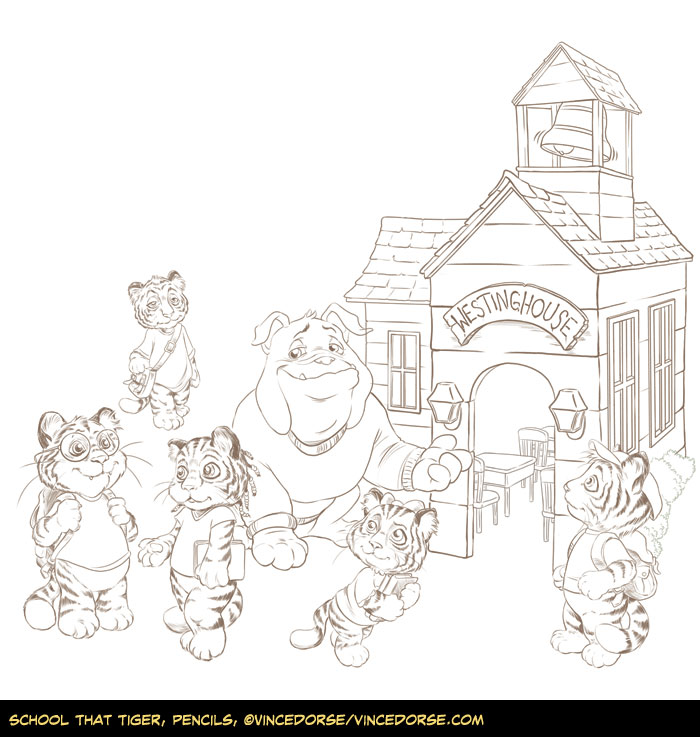
This is the pencil sketch, roughed out on printer paper. I didn’t take the time to work out all the details of the building, figuring that’d take long enough in the computer and why do it twice? I worked the tigers a little more, though, because I needed to know if Lisa (the art director) thought they were cute enough to fit the brief. They were. : ) I got approval, so I moved forward.
I did these in MangaStudio with a pencil tool, tracing over the scanned sketch. Since Westinghouse High is the home of the bulldogs, the school was supposed to look like a doghouse. I decided to combine the classic, backyard doghouse with an old-fashioned, one-room schoolhouse complete with belfry. MangaStudio‘s rulers are so versatile and easy to use that I’ve actually learned to enjoy drawing houses and other structures.
Next step was coloring the schoolhouse. Sticking to that storybook aesthetic, I chose a watercolor brush, fiddled with the opacity, and just started brushing color and grain into the boards. I masked out the overlap, adjusted the levels, and after the house was done, I started in on the characters…
I picked a few warm colors for the tigers (oranges, reds, yellows) and painted in some base flats. I didn’t have to worry about being too neat, since I planned to blend the colors in the very next step…
The colors of the clothing and accessories were determined by the school colors. Wilkinsburg, red and blue. Westinghouse, blue and white. Once I had all the colors of the tigers roughed in, I blended them, stroking the colors to look like fur. Time consuming, but I like the way it turned out. I normally block in the backgrounds first, but I saved the minimal environment until the end.
Here’s a quick progression of the foreground/environment. I started with some earthy colors, scribbling in some texture with a watercolor brush, adding more texture with an overlay, and deepening the shadows. Then, a rough-edged brush to map out patches of grass, followed by scattering blades of grass over the whole thing.
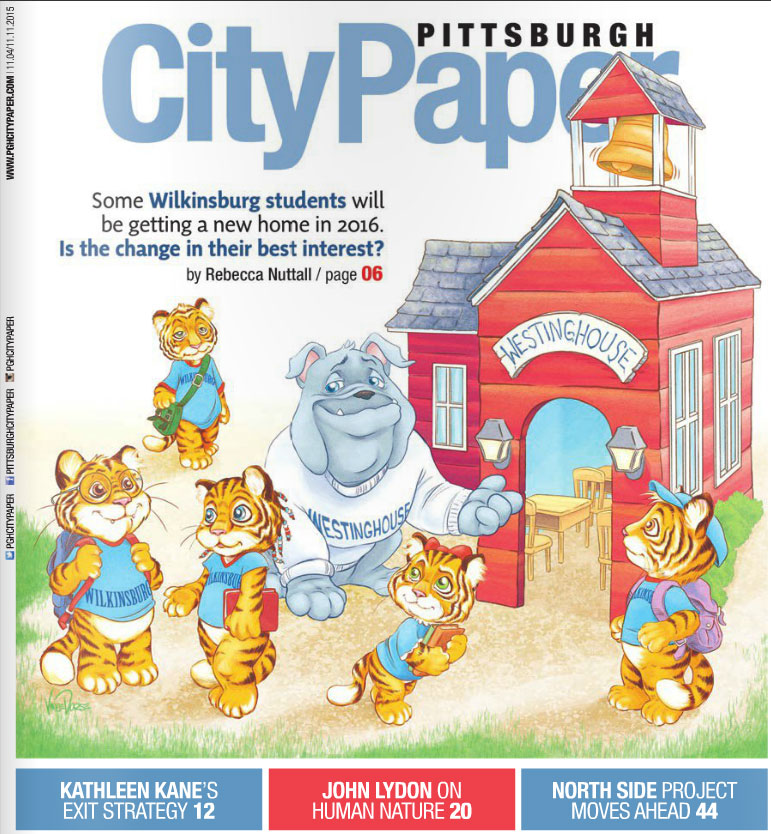
After that it’s just a matter of color adjustments, playing with the levels and it’s done. This was a great chance to add to my children’s illustration portfolio and still turn in an editorial assignment. The finished piece is down below, and, to see it in context, check out this week’s Pittsburgh City Paper. That link to the online edition also gives you a look at how Lisa scattered my tiger students throughout the issue and article (pp. 5,6,8&9).


You must be logged in to post a comment.