


Like many sci-fi fans, Michelle and I are hyped to see Kingdom of the Planet of the Apes. A nice, long, wordy title but it still doesn’t beat The Incredibly Strange Creatures Who Stopped Living and Became Mixed-Up Zombies. Nevertheless, I think the ape movie might be the better film. So we’re gearing up for it by doing some ape art.

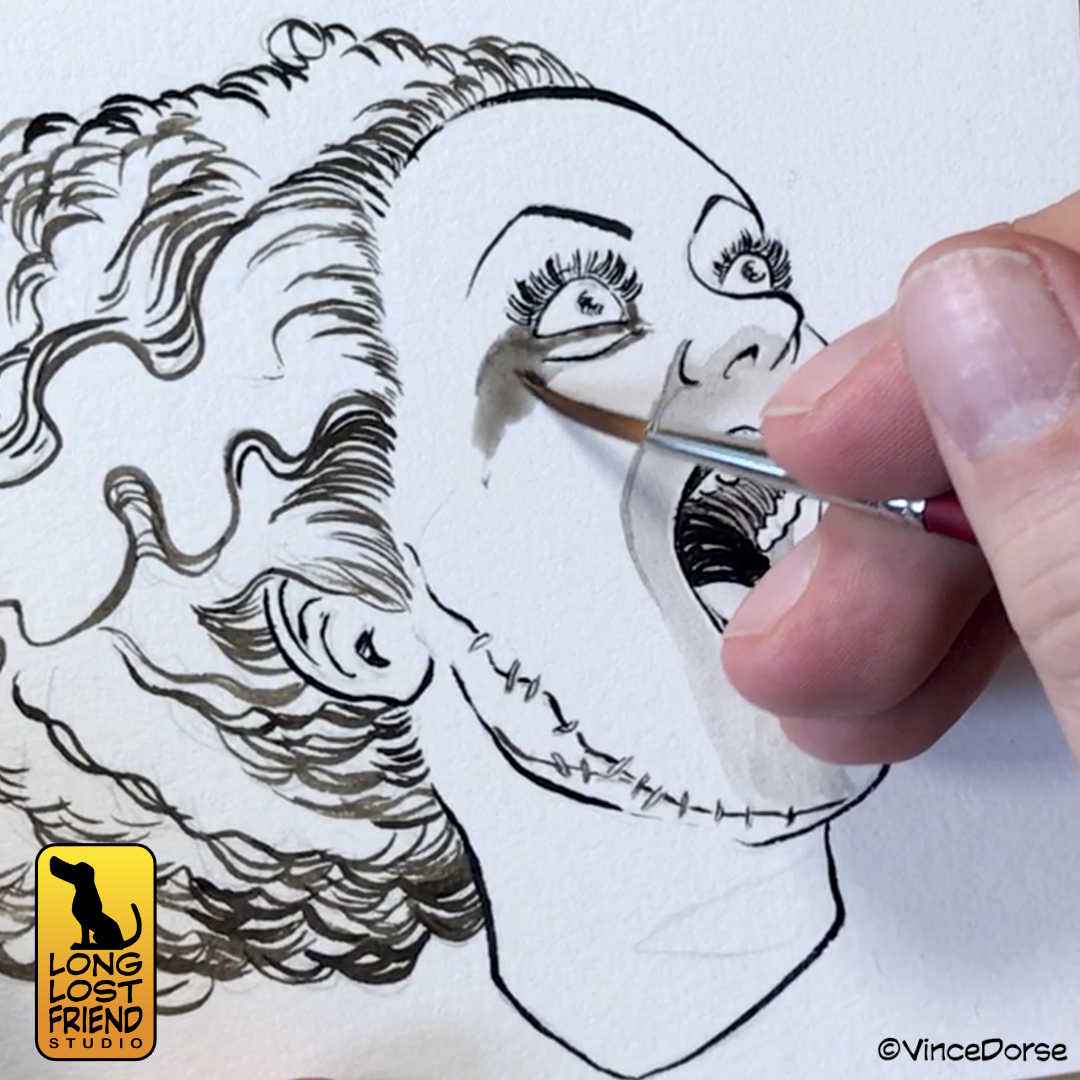
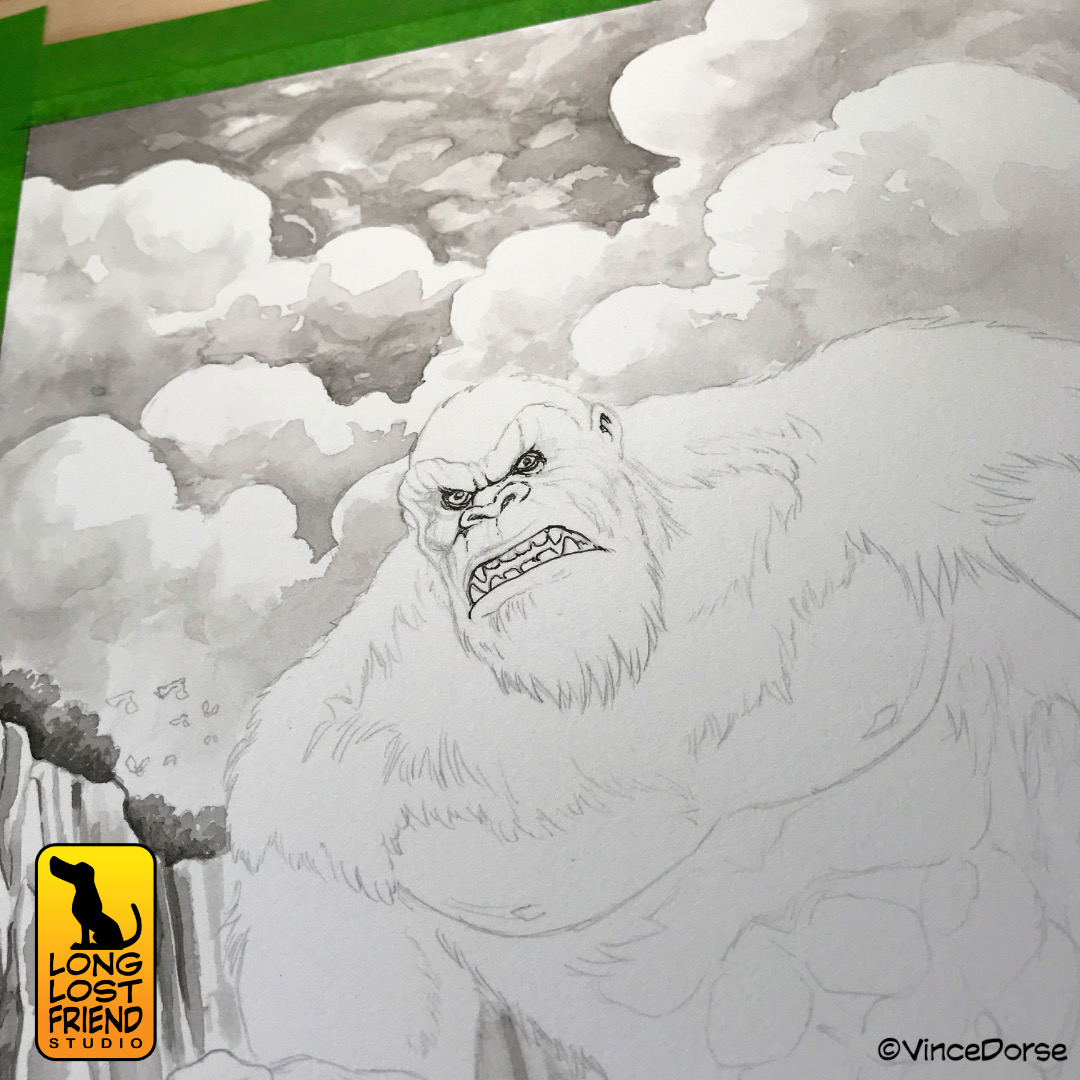
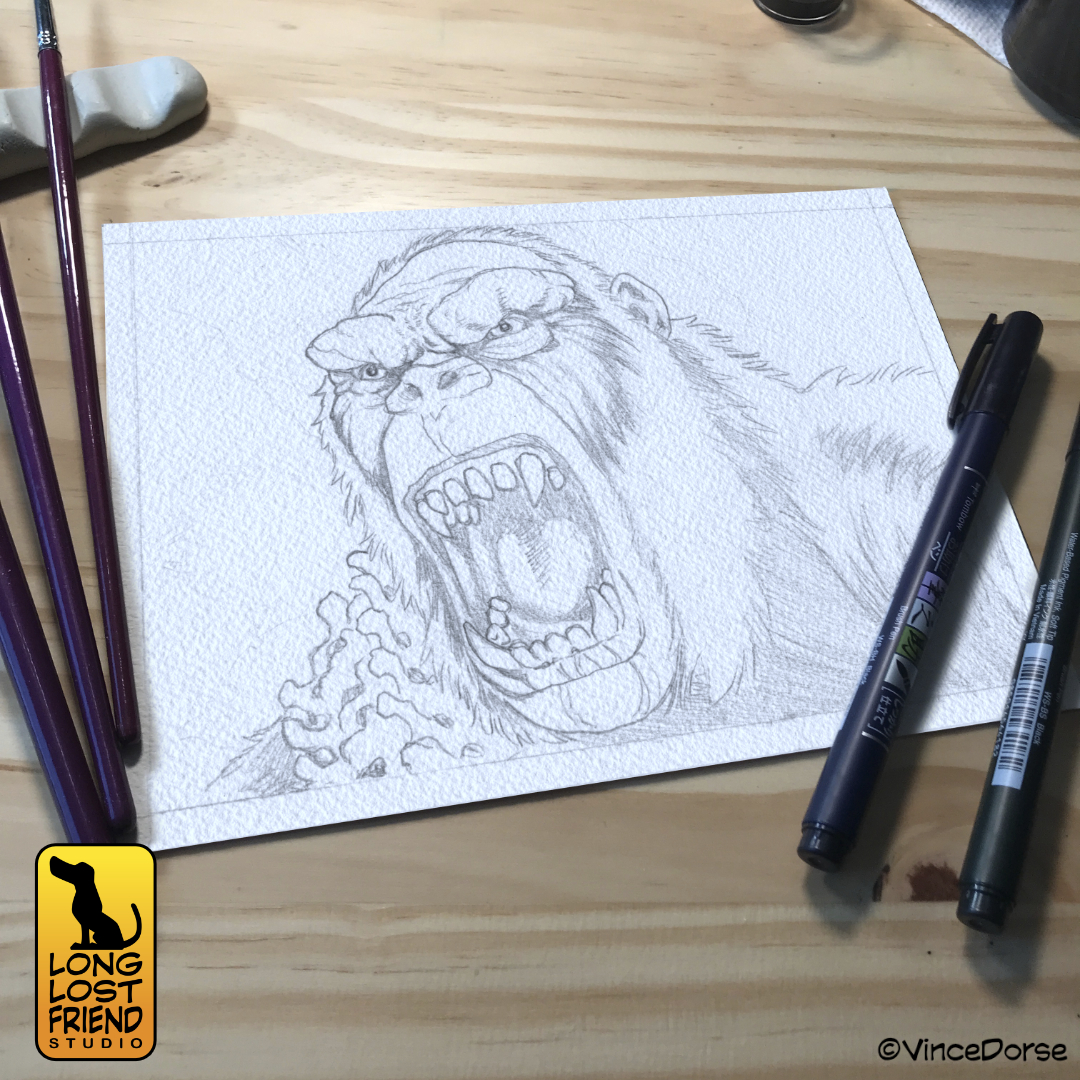
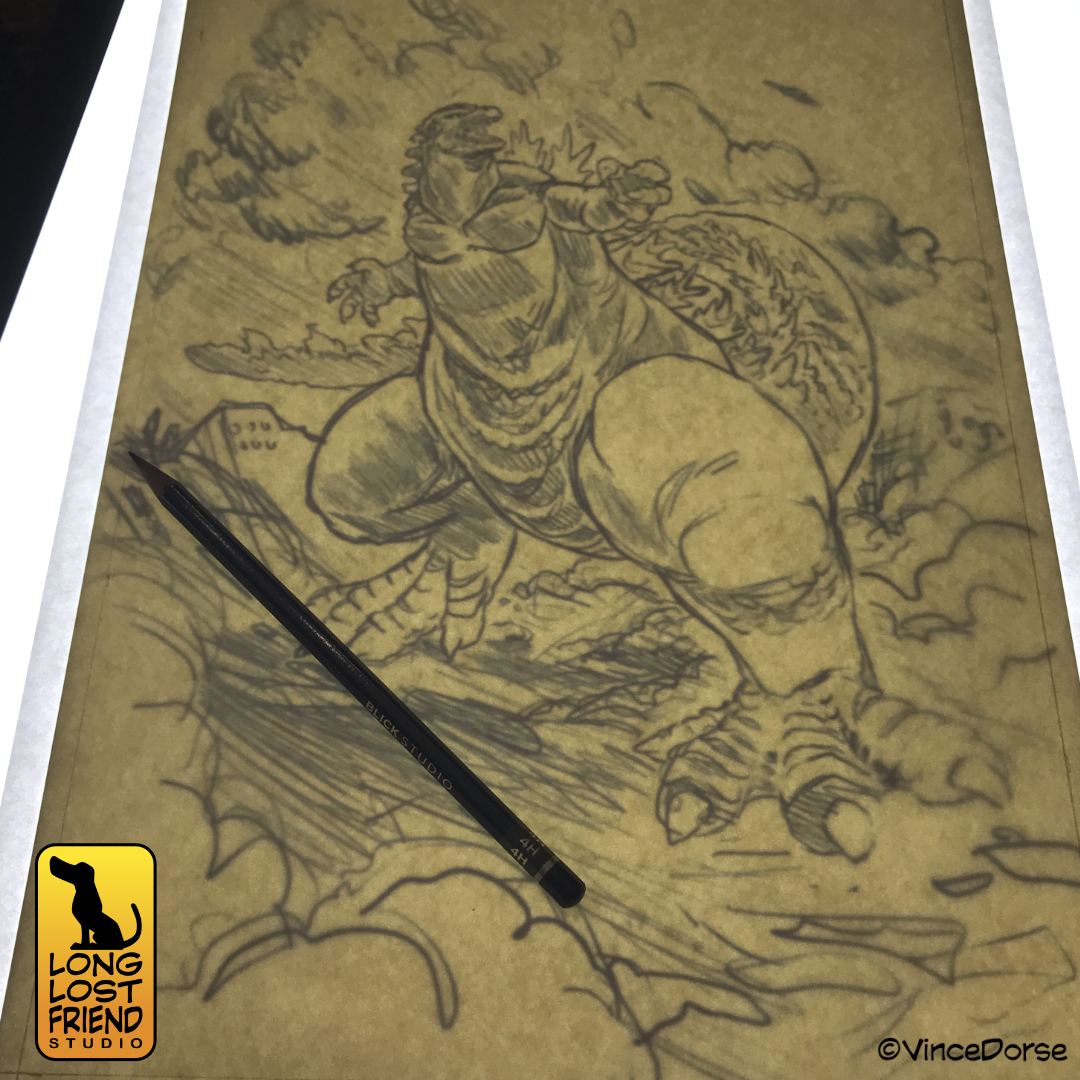
In this week’s video, I do an ink and watercolor illustration of the movie’s antagonist, Proximus Caesar. He’s a big, scary ape and he fits right in with our channel’s usual monsters-and-villains theme. And in keeping with our share-the-knowledge theme, we recorded my process.

In the video, I take you through my entire illustration process from digital sketch to pencils to inks and finished watercolor. My way is certainly not the only way to do it, or even the best way. But in searching for the best way to do things, Michelle and I enjoy watching process videos by different artists and learning all the options. If you like that stuff too, maybe you’ll enjoy this video.

Have you seen the trailers for Kingdom of the Planet of the Apes? I’m always on YouTube so it’s kinda’ hard to avoid them, and any accompanying spoilers from the peanut gallery. For the past six months everyone and their brother has been speculating on the plot, the characters, whether or not there’s time travel, whether or not it’s a reboot of the original 1968 film — enough already. It opens this Friday and I’m gonna plug my ears until I see it.

If you’d like to see our completely spoiler free video where I draw Proximus Caesar, the link is below.
Filed under: Fan Art, Illustration, process | Tagged: art, drawing, fan art, Illustration, ink, Planet of the Apes, process, sci-fi, Vince Dorse | Leave a comment »


You must be logged in to post a comment.