Our Holiday Tribute to Rankin/Bass

If you’re old enough to have watched all those great Rankin/Bass stop motion holiday specials when you were a kid — or young enough that your parents force you to watch them because “that’s what Christmas was like when I was your age!” — then you might enjoy our holiday card for this year. It’s an illustration of some of the worst creeps and goons Rankin/Bass ever animated.

Creeps like Professor Hinkle, for example. The failed magician who ended up stalking a small child through a frozen wasteland only to lock her in a greenhouse while her magical snowman friend melted into lukewarm water. Nice guy, right? And a wonderful thing for children to watch. It really helped prepare us for the real world. Never trust a magician.

And, of course, you have the Miser Brothers, Snow and Heat. These two petulant monsters argued constantly to get their way and threw tantrums when they didn’t. A great example of now NOT to solve conflicts. These Rankin/Bass specials really were valuable on so many levels.

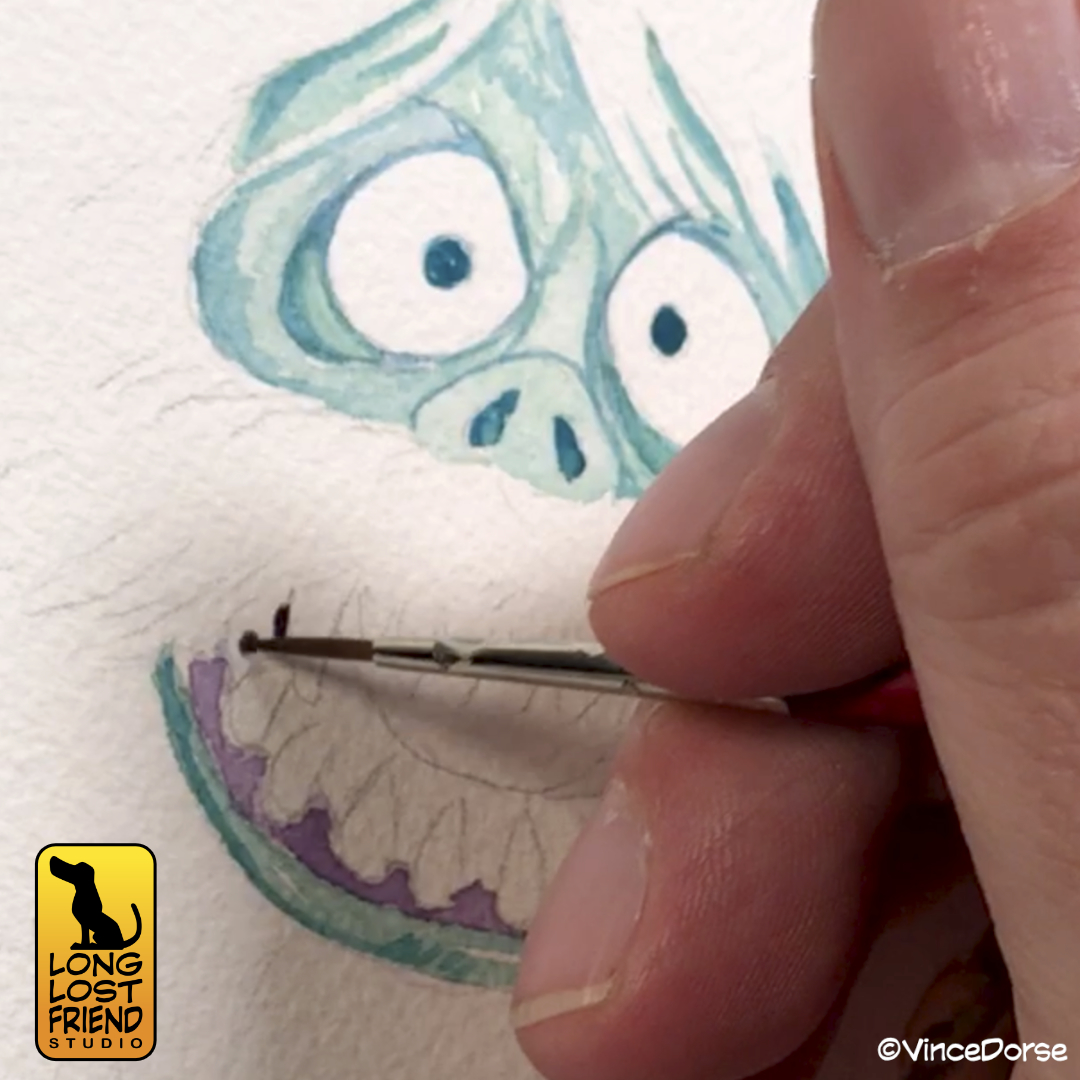
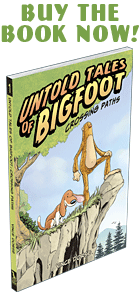
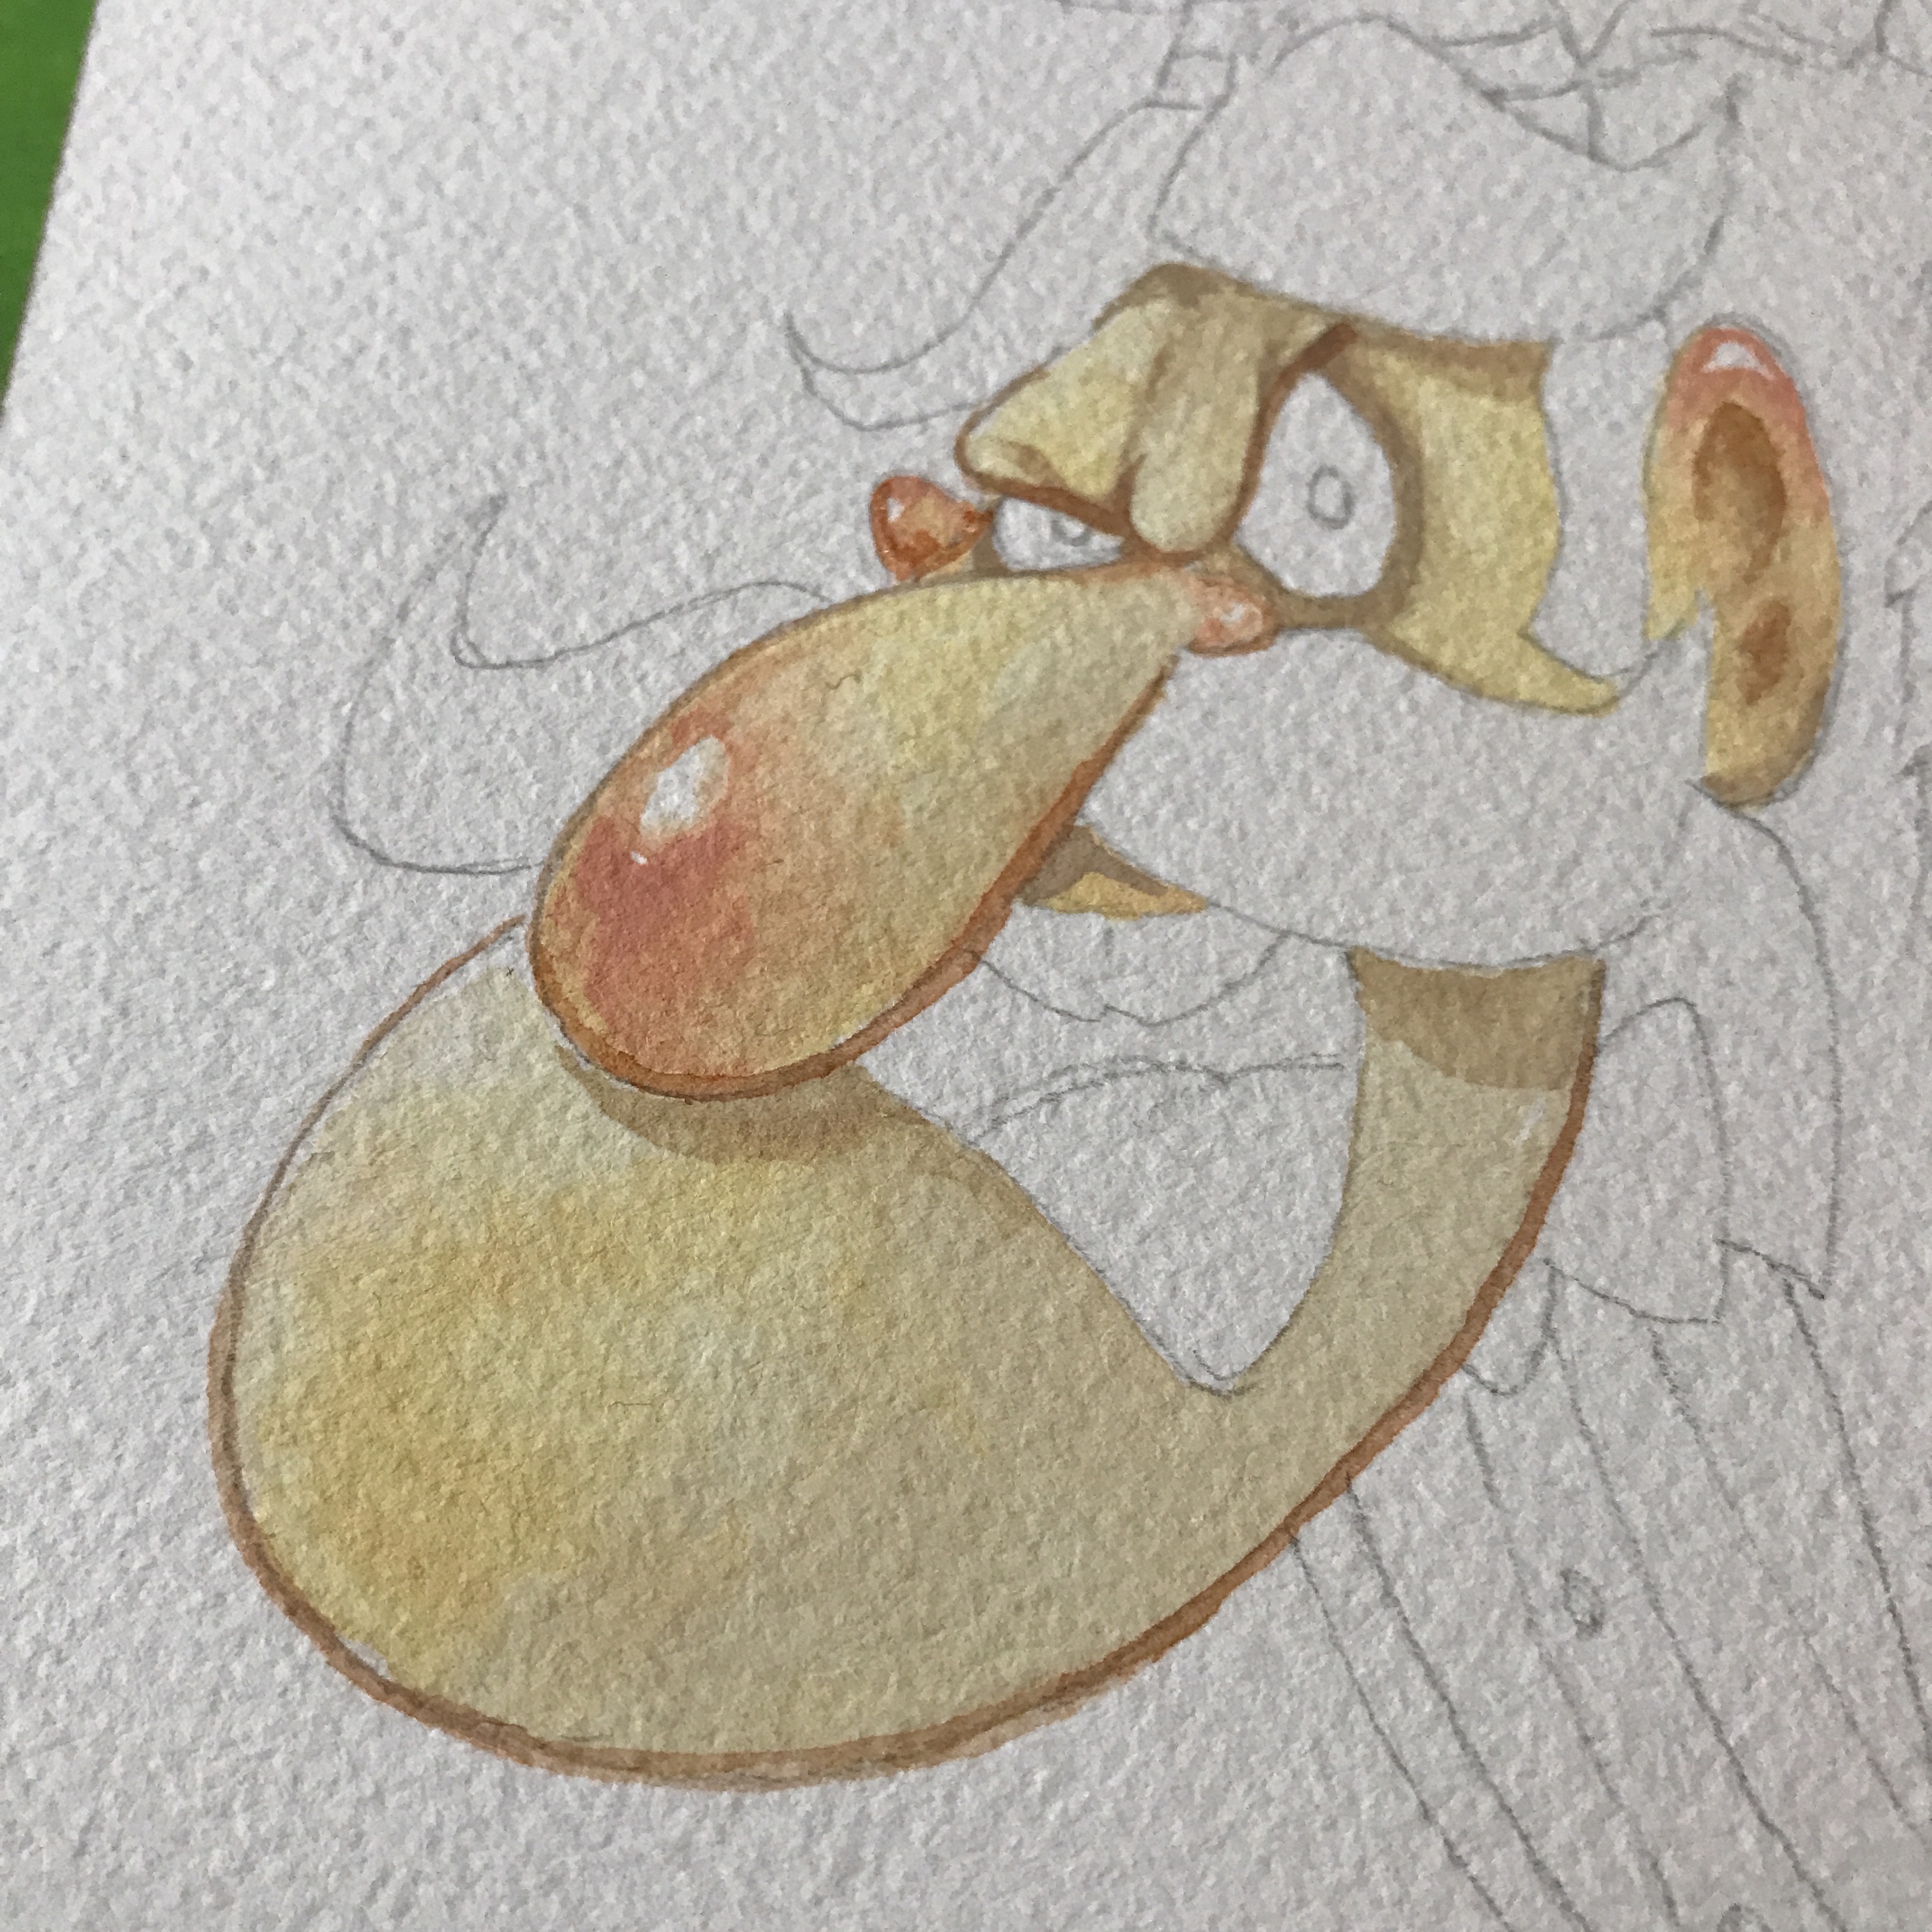
And that’s why we decided to honor those fantastic holiday specials with a collage of their villains. We did it in watercolor — no colored pencils or inks for linework or details — and tried to capture that holiday magic that Rankin/Bass imbued all of their stop motion specials with. Well…maybe not Little Drummer Boy. That one always put me to sleep.

If you’d like to see us put this holiday illustration together, you can watch the video below. And since it’s just a couple weeks until the end of the year — Happy Holidays! We hope you have a wonderful holiday and best wishes for 2024!

Emmet Otter’s Other Christmas

Most of you have either seen Jim Henson’s Emmet Otter’s Jugband Christmas or read the original children’s book by Russel and Lillian Hoban. It’s a Christmas classic about a mother and son trying to celebrate Christmas, and make ends meet on the banks of the Frogtown Hollow River. But for our holiday video this year, Michelle and I rowed down a different branch of that river.

This year, we’re breathing life into the long lost, controversial, alternate ending to Emmet Otter’s Jugband Christmas. What? You’ve never heard of this so-called alternate ending? Well, neither had I until I found some old papers hiding in a dusty box I got at an estate sale years ago.

Is it legit? Who knows? Maybe it’s just some stuff I typed up and dunked in coffee so it would look vintage. But Michelle and I ran with it regardless. And we used illustrations, needle felted sculptures, and dioramas to bring this alternate ending off the page and capture it on video.

I created the illustrations digitally because deadlines are tight, and digital mistakes are easier and quicker to fix. But I had the easy part. Michelle had to needle felt not one, not two, but three characters from the story. We each put our own spin on the characters, and I’m pretty happy with both the 2D and 3D versions.

This diorama was a challenge too. Another time-consuming cog in this chaotic machine. But to tell a story this epic, we had to go big. And that means going small, and filling this miniature set with miniature props.

So, whether or not this alternate ending is real…it’s the ending we need. And it rights the injustice that occurred at the Frogtown Hollow Talent Competition all those years ago when the Mayor let those goons from Riverbottom into the contest at the last minute. And it reminds us all of maybe the most important lesson you can learn at the holidays: Hit them before they hit you.

Have a wonderful holiday season, stay safe, and have fun. Here’s the video:

Molding and Casting That Round-Headed Kid

This week’s project is a series of dioramas based on the annual Halloween misadventures of everyone’s favorite round-headed kid, Charlie Brown.

Every year, Chuck’s costume earns him nothing but rocks in his candy bag. We sculpted him and his bag of rocks in two separate pieces because we wanted to try to make a mold of this little guy and cast him in resin (and it’d be a lot easier to make the molds if he were separated from his bag). We also experimented for the first time with a pressure pot.

Since our first set of castings without the pressure pot were a little bubbly, we decided to head out to the hardware store and pick up the pressure pot. Working with the pressure pot was a learning experience, but we were happy with the results.

Downside, there was a lot more flash to be sanded or filed off, but that’s a fairly simple process. Upside? As far as bubbles go, we didn’t have any issues. The surface of this ghost (aside from the flash) was silky smooth.

After we pulled the little ghost from the mold, we had to wash off the mold release and sand off any little imperfections. Then it was time to prime and paint him, and assemble the parts.

We made three separate castings, so we had some options when it came to putting the figure on a base. The original plan was to have him walking down the sidewalk the way you see him in the opening of the animated special.

The first two castings were done without a pressure pot, so there’s a difference in the way the surface of the figure looks (image above). But since he’s wearing an old sheet with holes cut into it, we thought the unwanted texture might not be too distracting.

But by the time we pulled the third image from the mold, after pressure casting, his surface was A lot smoother. If you want to see us put this all together, you can watch the video below.

My Friend’s Mailbox is Haunted!

Maybe haunted isn’t the right word. More like it’s crawling with monsters. And it’s not just one friend, it’s a few. And it’s all my fault. Because this year, Michelle and I decided to draw and ink a bunch of Universal Monsters and send them to some of our friends and Patreon supporters as Halloween cards.

Sending and receiving Halloween cards is a tradition that seemed a lot more prevalent when I was a kid. Hardly any of my friends do it anymore. But it’s something I always enjoyed, and something I’m not willing to let slip so easily into the past.

And while picking a few cards up in the drug store to mail out is perfectly fine, whenever I can squeeze in the time to make the cards by hand, it’s always a lot more fun. So I grabbed some watercolor paper, inks, brushes, and pens and got to work.

We even figured out a way to make them a little more than just hand-done illustrations (although, that would’ve been fine). We crafted a delivery system that made the drawings more like actual cards, and even supplied a little mystery by way of a window cutout that obscures parts of the illustration until you open the card.

If you want to see all the monsters we sent out to terrorize our friends this Halloween, you can watch the process video below:

It’s Muppetober! Yeah? So what does that mean?

Hey! During October, a lot of artsy-types do a daily challenge: ink something every day, draw something every day, and they match it to a particular theme. I’ve done it before and I’m doing it again. This year, we’re calling it Muppetober!

For every day in October, I’ll be inking a Muppet. There’s a lot to choose from, so I’m just picking some of my favorites. But I’m not inking too heavily or elaborately, because it’s more than just inking, I’m also going to try to add some watercolor on top.

Will I be able to pull it off? I don’t know. We’re 13 days in and…yeah, it’s a struggle. And it’s not necessarily the drawing and inking. That’s goes down pretty smoothly. The watercolors, they’re a bit more involved. But the real pressure? The real time suck? Michelle and I are recording my process for all of these, editing and uploading a short to YouTube every single day.

All of this is going on, of course, while we’re juggling some other projects and commissions. But we’re letting you know about this in case you need some Muppets in your life every day. Even for just one precious minute.

Here’s the link to our shorts. Have fun!

Nothing But The Dead And Dying Back In Halloweentown

You can ignore the Simon & Garfunkle reference in the title. Sometimes I reach. But considering the number of zombies, mummies, and Frankenstein-types in the Disney Channel Original Movie, Halloweentown, it’s not too far off.

The diorama Michelle and I worked on this week, however, features a character from the movie that is definitely alive. In fact, they’re thriving like a pumpkin in early October. Because it is a pumpkin. A pumpkin person who appears in the movie for no more than three seconds, but quality, as you know, is more important than quantity.

I sculpted the little pumpkin kid out of Cosclay. I rely more on that lately than the Sculpey because I’ve dropped both and the Cosclay pieces tend to be a bit more durable.

Michelle worked on the base of this diorama, virtually recreating the town square in Halloweentown where we first see pumpkin kid.

It probably goes without saying, but it’s always Halloween in Halloweentown. So the town square is festooned with jack-o-lanterns and straw. So that’s what we did. Some wood for the picket fence, some soil and turf to cover the ground, and some scattered straw was all Michelle needed to set the scene.

Then she sculpted a jack-o-lantern to keep my pumpkin kid company.

In the end, I think the piece breathes some life into a character that may have been forgotten back in Hallowentown. And since the movie was a Disney Channel staple in the 1990s, we thought we’d give it the whole ’90s mid-west mall, glamour shots treatment. I can practically smell the Cinnabon.

Take a look at the video below to see our process.

Just An Old Fashioned Muppet Song

Today is Paul Williams’ birthday. If you don’t know who he is, you’re missing out. Musician, composer, actor…Paul Williams has had a dazzling and diverse career in show business for over five decades. But for me, the most impressive achievement he ever racked up was working with The Muppets.

Williams, along with Kenny Ascher, wrote the timeless classic, Rainbow Connection, and all the other amazing songs from the first Muppet Movie. Williams also penned all the tunes from the holiday classic Emmet Otter’s Jugband Christmas. If you’ve ever found yourself humming Barbecue at the holidays, you can thank Paul Williams. Years later, the Henson company picked him to create the songs for yet another Muppet holiday classic, The Muppet Christmas Carol.

Considering how important Williams is to the Muppets, Michelle and I decided to honor that collaboration (and his birthday) with an illustration of Williams jamming on-stage with some of our favorite Muppet musicians.

That means that he’ll be performing not only with the Frogtown Hollow Jubilee Jugband from Emmet Otter’s Jugband Christmas, but also the powerhouse rock band The Electric Mayhem who shook the rafters in The Muppet Movie.

He’ll also be joined by Rowlf on piano and, of course, Kermit the frog on banjo. But a performance this massive couldn’t be confined to just the paper it’s printed on. So Michelle and I decided to craft a sufficiently Muppety frame to showcase this band.

We wanted the frame to evoke the proscenium arch of the old Muppet Theatre. A throwback to vaudeville days, the Muppet stage was framed in rich, dark red wood with ornate gold accents. So Michelle and I set about finding all of the parts and pieces necessary to complete that visual.

That meant finding and painting a wooden frame and accents, right down to the seashell footlights. The overall effect when looking at the image is that you’re viewing a Muppet performance on a stage, in a classic, old-style theatre with, of course, Paul Williams front and center.

To see us put both the illustration and frame together — and to hear us gab about Paul Williams’ many artistic accomplishments for six solid minutes — you can watch the video below.

Lady In White Sculpt Was A Trick And A Treat

This week we journey back to Willowpoint Falls and the world of Frank LaLoggia’s Lady In White to sculpt the film’s protagonist, little Frankie Scarlatti.

I used polymer clay for the figure and tried to work small. That made it a little tricky to nail all the details (like tiny little fingers) but I try to do things out of my comfort zone as often as possible as a way of learning, improving, and moving forward. Plus, who’s got the shelf space for giant dioramas anymore?

Michelle worked on the base with me, helping me out with the important grunt work so my delicate hands never have to touch sandpaper, and I never risk getting paint under my pristine fingernails.

She also helped me turn the wooden plinth into a grassy front yard on Halloween with autumn leaves scattered at Frankie’s feet.

Another pleasant outcome of working on this sculpt is that Frank LaLoggia, the writer/director/composer of Lady In White actually likes the sculpt, and has even linked some of our process videos up on his new website, franklaloggia.com. I urge every fan of Lady In White (and film making in general) to visit that site and take a spin through all of the behind-the-scenes videos, interviews, press releases, and photo galleries that comprise Frank LaLoggia’s inspiring film career.

And if you’d like to see Michelle and I put Frankie together, you can watch our video below.

Beware, Spider-Villains…I got new brushes!

During our month-long summer break, Michelle and I hit a few different art stores in a quest to find some new, decent brushes for inking and watercolor. I decided to try Princeton Velvetouch brushes, and I thought we’d test them out inking and coloring some scary Spider-Man villains.

The Green Goblin was inked entirely with a number one round. Even the smallest detail lines where I’d normally use a fine liner, I inked with that brush.

I liked the way this brush handled. It has a great point, and the bristles held plenty of ink for me to draw long, variable-width lines without going back to the ink jar too often.

The inks went down smooth and dark on this hot press watercolor paper. And after getting used to the feel of the brush with the Goblin, inking the Lizard was a breeze. However, we wanted to color these villains. But unlike our reptile friend above, hot press paper does not have a lot of tooth. And we knew that watercolor was not going to lay down as nicely on a paper with so little tooth.

There’s a bit of a trick to it, but if you’re careful, you can get decent results with watercolor even on the hot press paper. I imagine the colors would look even nicer on cold press, but then I’d have to sacrifice that smooth surface I love so much for inking.

And I wasn’t the only one trying to get watercolors to work on hot press. Michelle, once again, took the Ink It or Stink It challenge with a Spider-Ham I sketched for her. However, there was a new twist: Sure, she doesn’t ink and yet is forced to ink during this game. But to balance that out, she has also never worked with watercolors. So I threw my palette in front of her and had her color the image she inked. Did she get an Ink or a Stink from the judges? Did I enjoy the Princeton brushes enough to start using them on a regular basis? Am I way off base with my choices for scariest Spidey-villains? You can find the answer to these questions (and a whole lot of art tips) in the video below.

Trying Gouache For The First Time

I recently received a book filled with Mary Blair’s concept art for Disney and spent an hour flipping through all the amazing illustrations. It was a crash course in how to effectively use color and composition to tell a story.

The image above is from her concept artwork for The Adventures of Ichabod and Mr. Toad, a classic Disney feature and an annual watch around here near Halloween.

The book is filled with images like this, and, since Blair worked mostly in gouache and watercolor to create these images, it inspired me to try gouache for the first time. There’s a bit of a learning curve since this medium sits somewhere between acrylics and watercolors…and I consider myself a novice at both.

But, since experimenting is what we do around here, I pressed on. I started with a basic gradient blend, something Blair relied on heavily in her concept art. And while you can use gouache much like watercolor — diluting it and layering translucent washes — I tried to use it the way Mary Blair did in her illustrations: just enough water to create a loose but creamy texture that glides over the paper and remains satisfyingly opaque.

I ended up doing four separate paintings. Practice makes progress. Because Blair and her work for Disney was my inspiration, I stuck mostly to Disney ghosts. Doing a couple from the Haunted Mansion, and even my own take on the Headless Horseman.

For my first attempt with gouache, I was pretty happy with my results. But a lot of that was due to the gouache and how, even when the paint dried to a dead flat finish, the colors stayed vibrant and alive. I can’t wait to try it again and see what else I come up with.

The Haunted Mansion movie opens this weekend, so I may get out of the heat and into an air conditioned recliner to see if inspiration strikes again. And if you’d like to see my first-time gouache experiment, there’s a link to this week’s video below.